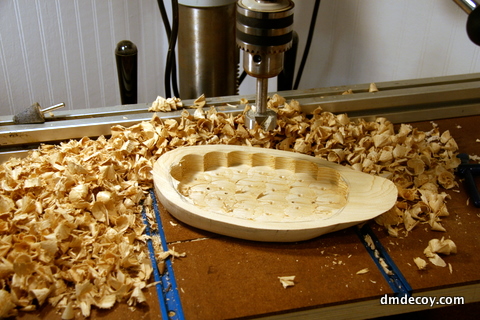
Now that the decoy is basically carved to its final shape, I'll start the hollowing process. I'll do just a bit more carving to refine some details, but I'm now confident that they will be minor so I'm ready to hollow.
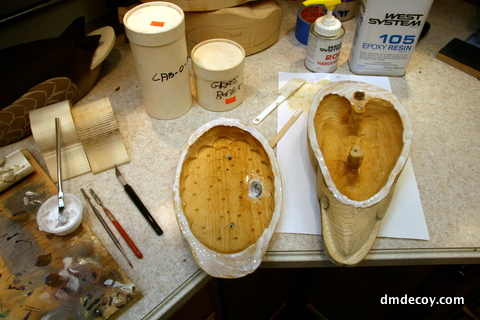
Since I never did glue the two halves together, all I have to do is remove the screws and the decoy comes apart. The bottom is the easy part to hollow. I chuck a forstner bit into the drill press and set the stop so that it doesn't drill any lower than about 3/8" inch. I'll drill out as much as I can.
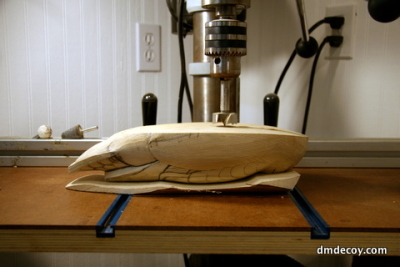
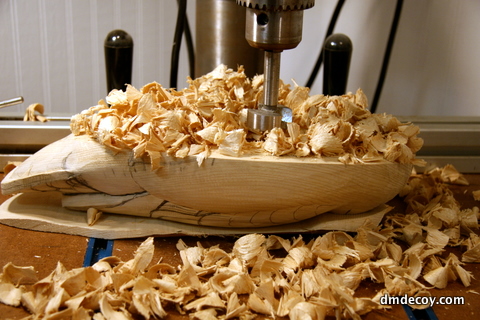
When I cut out the decoy, I saved the fall from the side profile. This gives me a nice, custom made cradle to hold the carved portion of the decoy while I start to drill out the bulk of the wood.
This is only two holes in the body. You can see how many chips this process creates.
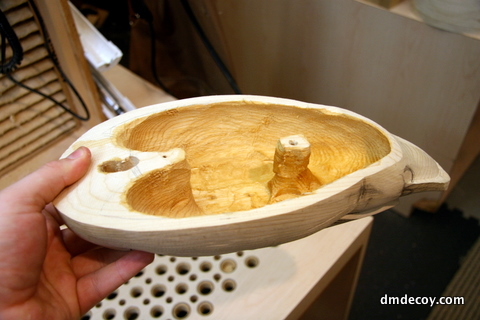
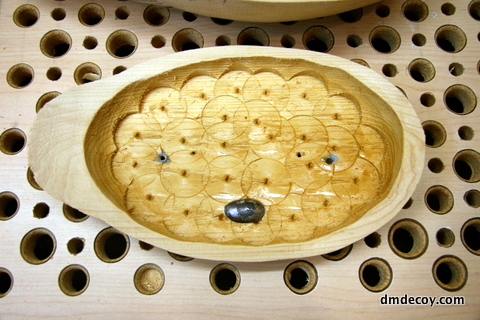
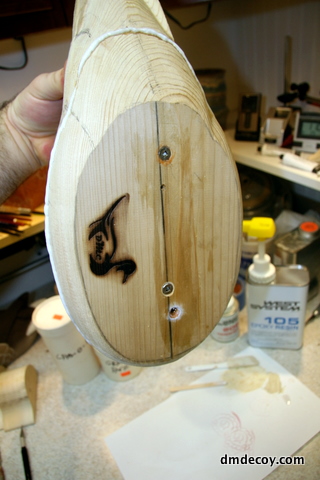
I'll drill out as much as I can, then I'll move to a coarse, 1" ball Kutzall bit to grind out the rest of the wood. I leave a post in the back half of the bird so I can screw the halves back together. At the front, I leave a lot of extra wood. I like to have extra wood to support the dowel peg I use when attaching the head. Sometimes I'll also add weight to the front of the bird so the breast rests a little lower, and the tail a little higher. This extra wood gives me something to sink some lead into should I choose to do that.
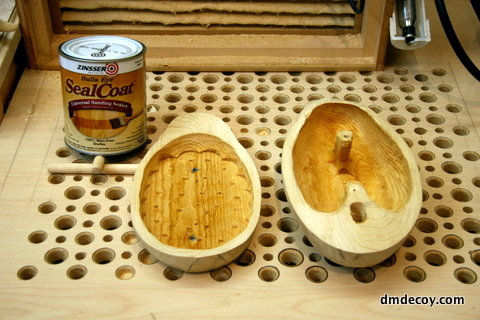
Now that both halves are nice and hollow, I'll seal the insides using a couple coats of Zinser SealCoat. This is an extra blonde, de-waxed shellac. It seals well and dries very fast.
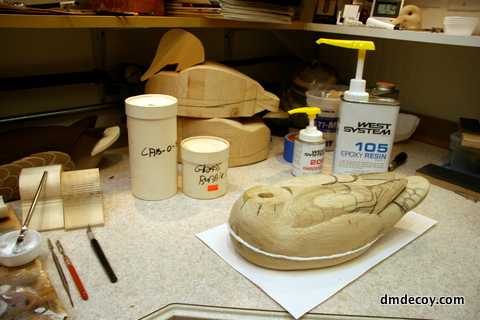
Before glueing the top and bottom together permanently, I reassembled with screws and wrapped it in plastic wrap so I could see how it floated. This decoy had a slight list, so I added a bit of lead to one side of the bottom to make it float nice and level. This type of detail is very easy to skip, but when competing your birds, the way it floats is judged very critically so it's important to spend some extra time and get it right.
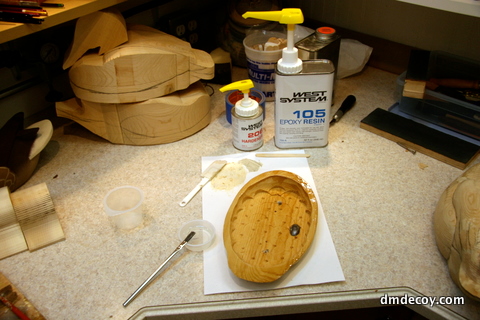
Now I'm ready to permanently reassemble the top and bottom of the decoy. I'm using a premium marine epoxy called WEST. The 105 resin is the same stuff you use in all applications, but you can add different hardeners and additives to alter the way it performs. I'm using a slow setting hardener to give me lots of working time.
The first thing I start with a straight mix of resin and hardener. It is a somewhat thin, watery mix. I coat the mating surfaces of both halves with this mix and give it a little time to soak into the wood.
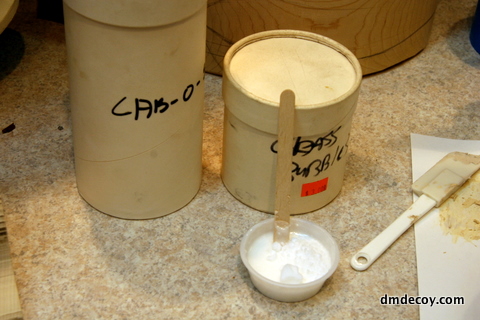
Next I start to introduce some additives. I use two additives. One is called glass bubbles. Sometimes it's called mirco balloons. This will give the epoxy a little more body, but also adds a great deal of strength to the cured epoxy. The other additive I use is cab-o-sil. This is simply a thickening agent so the epoxy doesn't run as much.
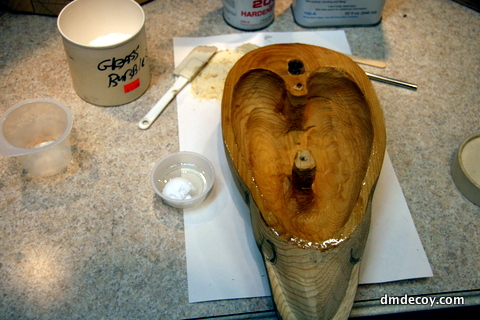
I've coated both halves with the thickened, strenghtened mix.
Now I reassemble the top and bottom. Some epoxy squeezes out. I always leave it as is until it cures. I've tried to clean this up in the past but the epoxy seems to shrink just a little when it cures. If I clean up all of the squeeze out before it cures, I end up with a visible glue line. After the epoxy is cured, I'll grind the excess away for a seamless joint.
I reattach the two halves with screws while the epoxy cures.

