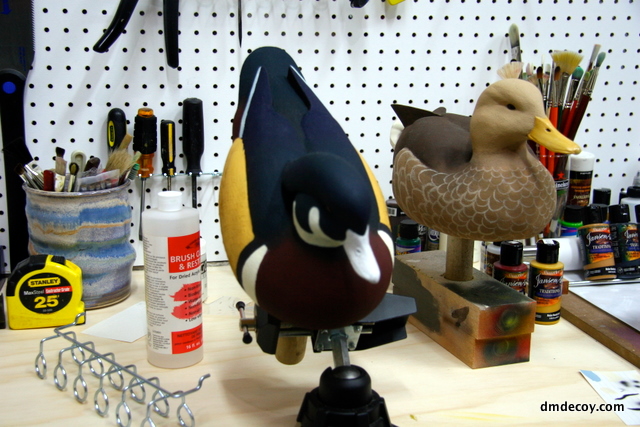
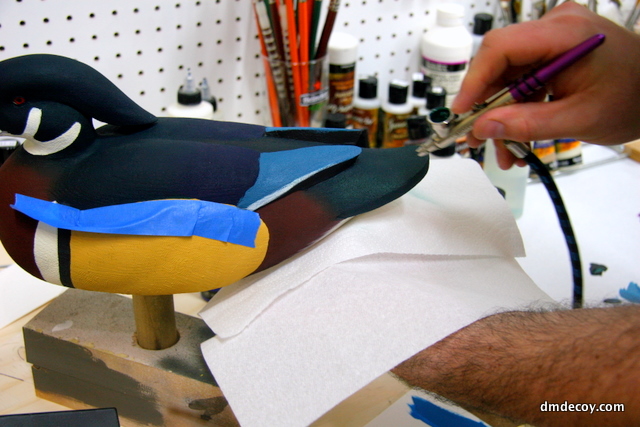
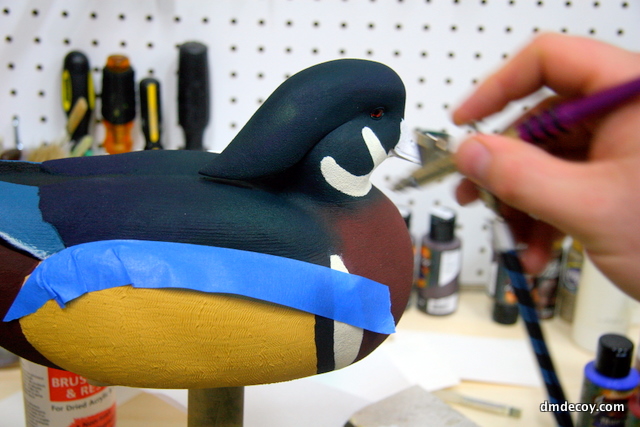
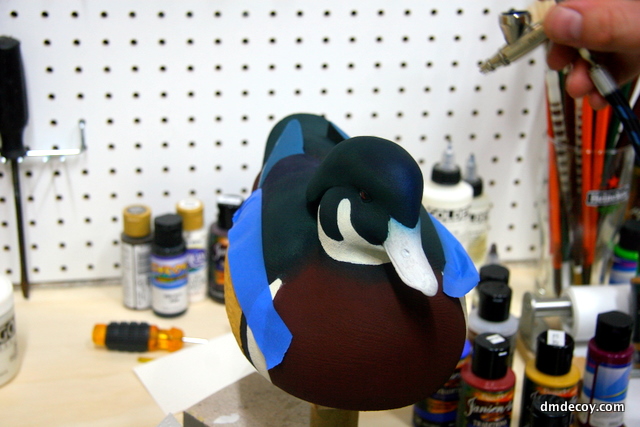
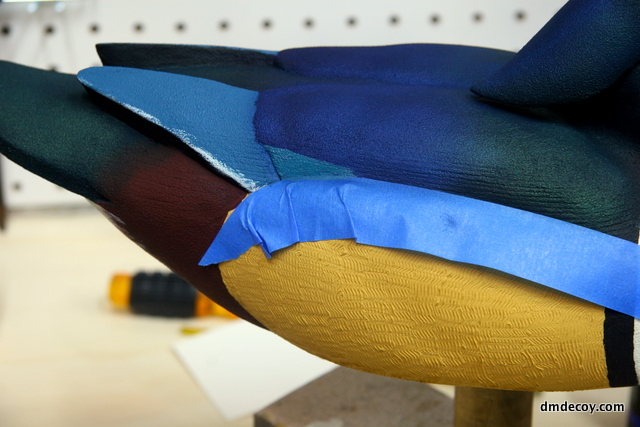
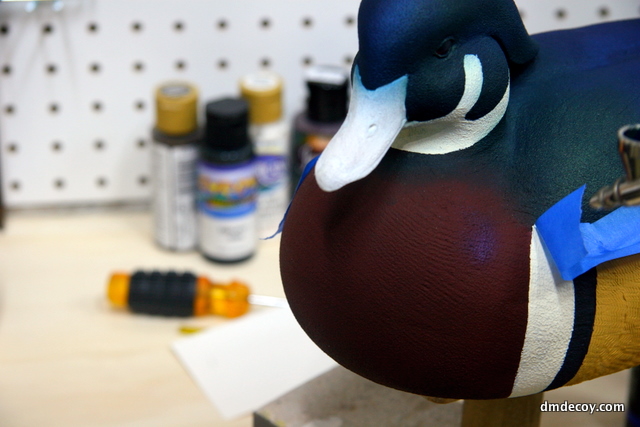
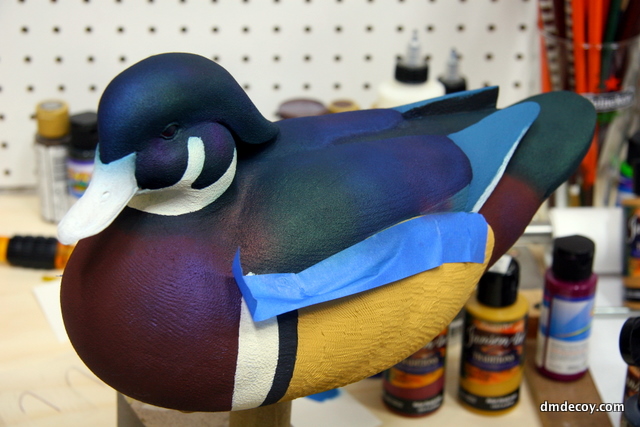
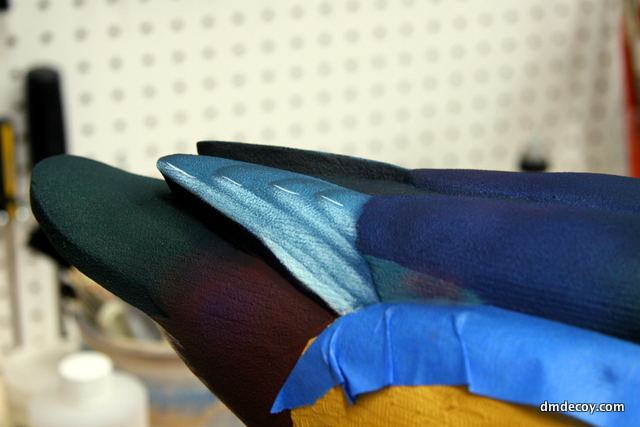
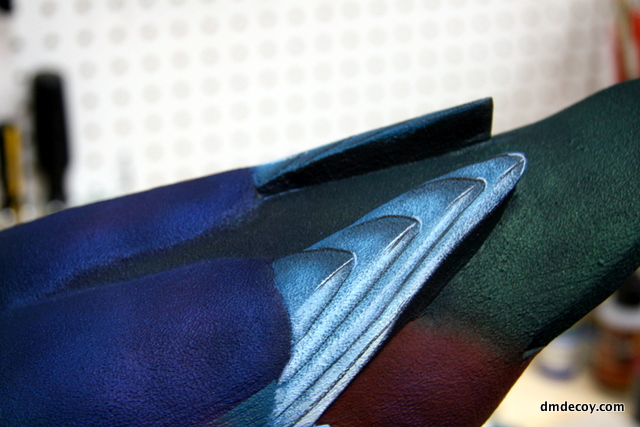
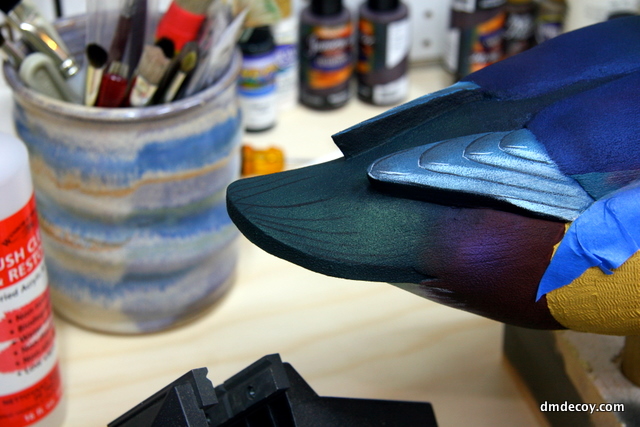
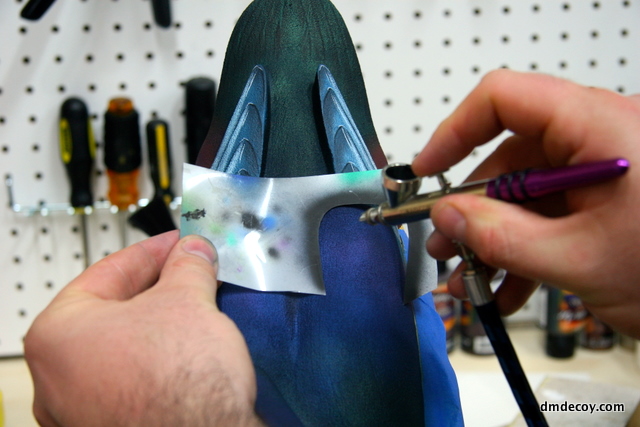
Now that the bird is base-coated, it's time to move onto the finish paint. I generally try to work from the rear of the bird to the front, although admittedly I'll sometimes jump around. I'm going to start with the rump and under tail on this bird. On this particular bird, I use the airbrush quite a bit. I normally don't like to use the airbrush this much on my decoys. With a wood duck, however, I've got an easy formula using the airbrush that's tough to beat.
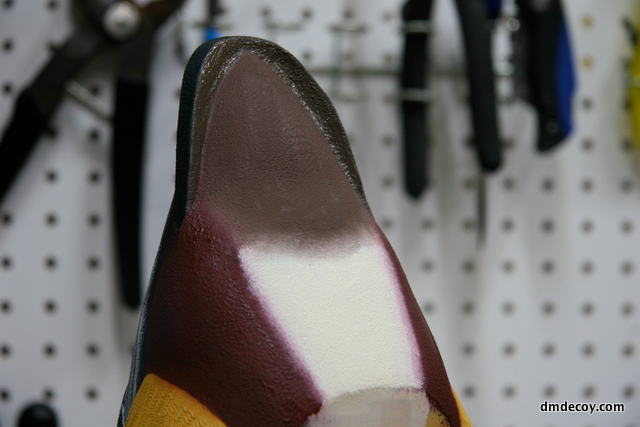
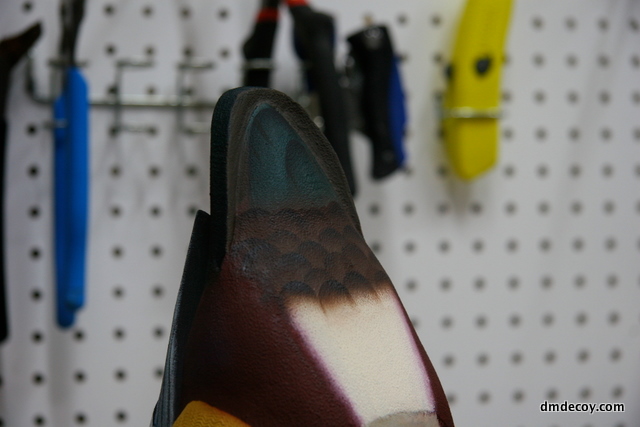
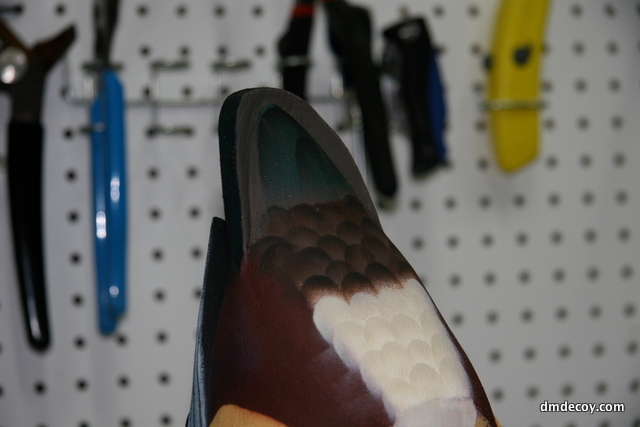
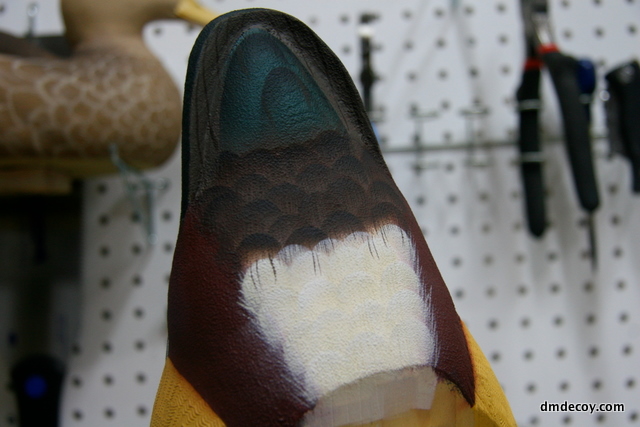
The rump on wood duck has white feathers on the lowest portion, changing to brown feathers as they get closer to the tail. There are also a group of green feathers that form the point of the rump.
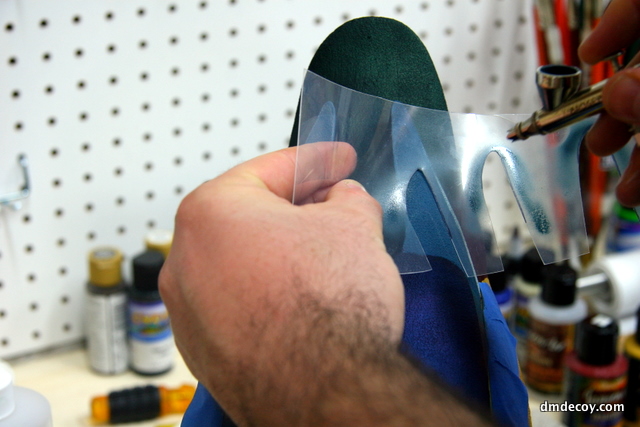
Using a template, I airbrush a couple green feathers in. I'll go back over with a green-black color and darken the tips.
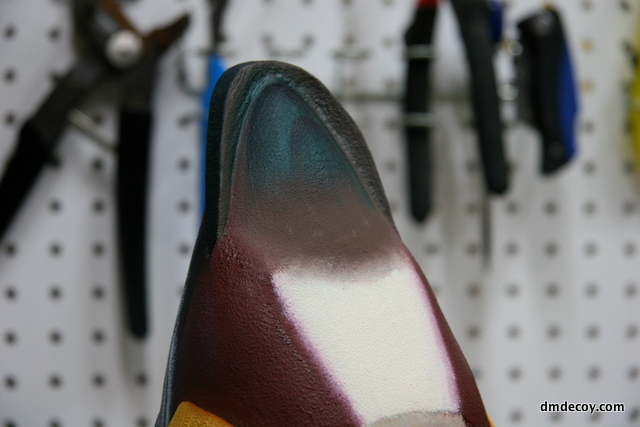
Using a different template, I start to put in some brown feathers.
I added some black to the brown mix and darkened the feather tips.
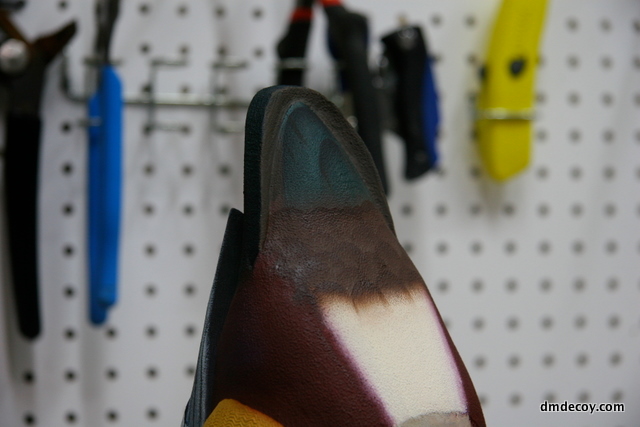
Now using a medium white color, I add the white feathers.
Now that the feathers are defined, I go back in and paint some feather barbs using a #2 round brush. I also added some brown splits in the white feathers so that it appears like the white feathers overlap the brown.
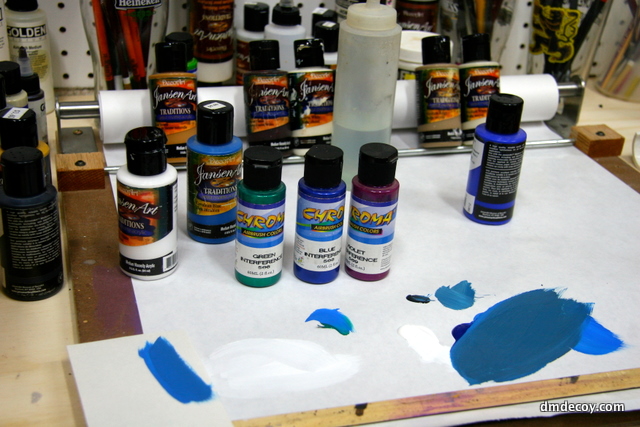
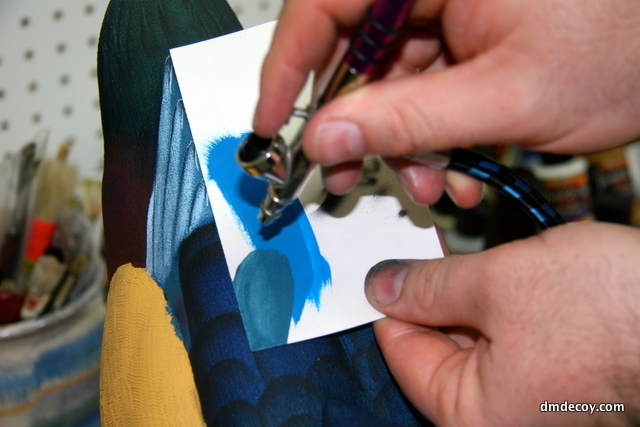
Now it's time to add some iridescence to the bird. I like to use Chroma interference paints for this.
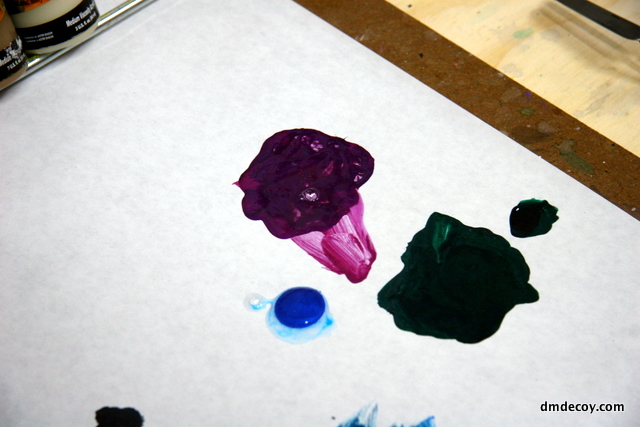
I add just a touch of carbon black to the Chroma paints.
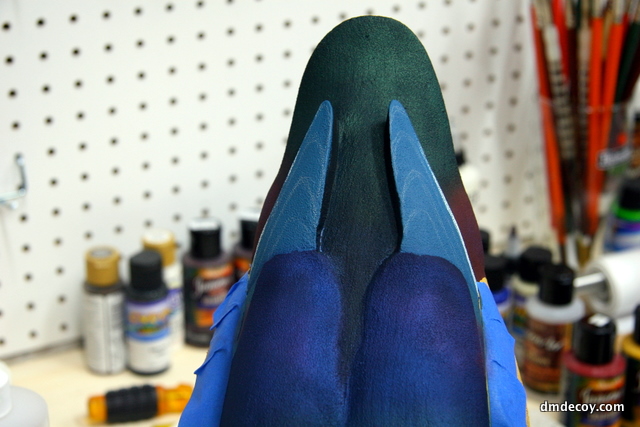
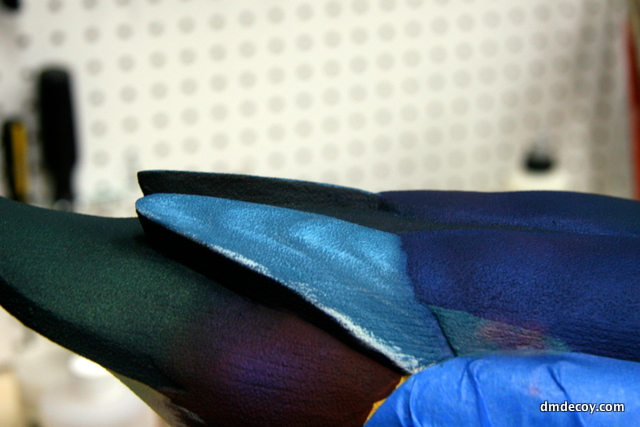
Now, using an airbrush, I'll lightly mist the green and blue portions of the decoy with the appropriate interference color.
Here I'm adding some blue to the crown of the bird.
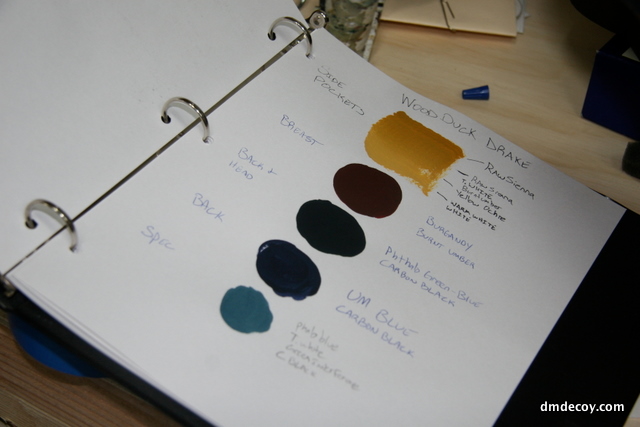
Now I'll paint the speculum as well. I keep a binder with some past color example and mixing notes. I referred to my notes so I could recreate the unique wood duck speculum base color.
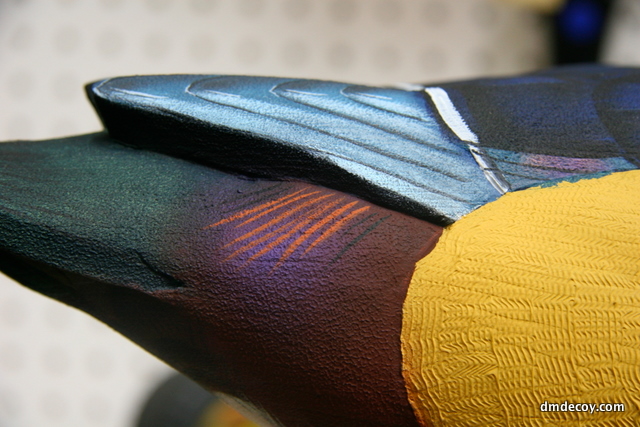
I add some violet highlights to the front of the shoulder, certain areas of the head the the upper flank feathers behind the side pocket.
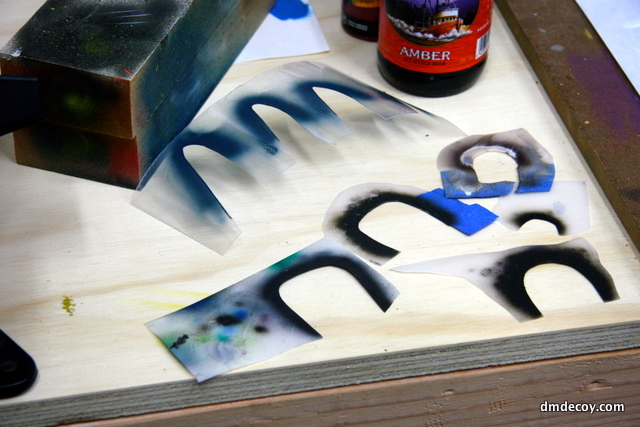
Now it's time to paint the primary and scapular feathers. Here's a shot of some of the templates I use.
With a charcoal pencil, I lightly sketch the primary feathers.
I use a pearl-white color and scrub in some color for the interior of the feathers.
Now I'll use the template to airbrush the outline of the feathers.
With a fine, round brush, I'll add some highlights and quills to the feathers.
While I've got the round brush and some black paint out, I outline the tail feathers.
Now it's time to paint the tertial and scapular feathers. Using several templates, I use carbon black to outline the feathers on the back.
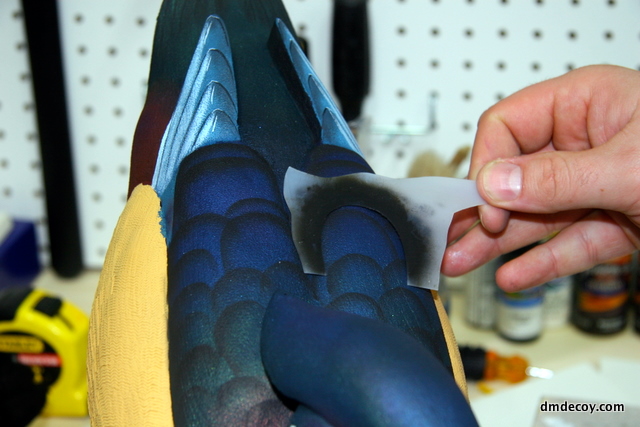
If you look closely at the tertial and scapular feathers of a wood duck, you'll notice that half the feathers is darker on one side of the quill than the other. Using an index card to cover half the feather, I mist some carbon black on the other half.
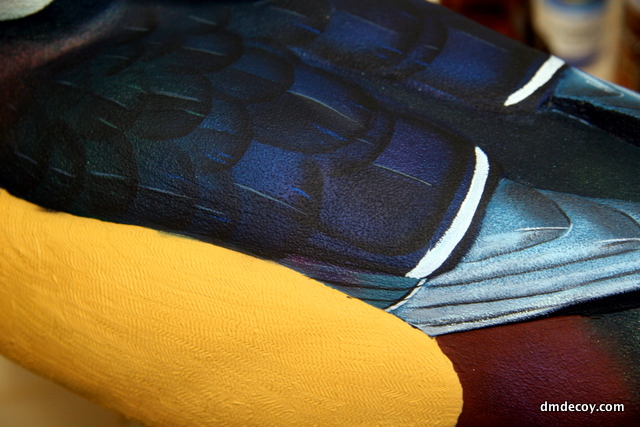
To finish it off, I add a little violet to the rear-most feathers. I've also added some quills and feather splits.
I use a mixture of yellow and red oxide to paint the whispy, flank feather.
Onto the side pockets, chest and head.
