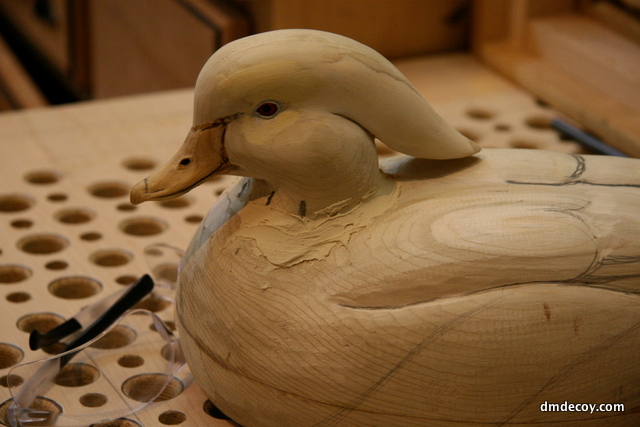
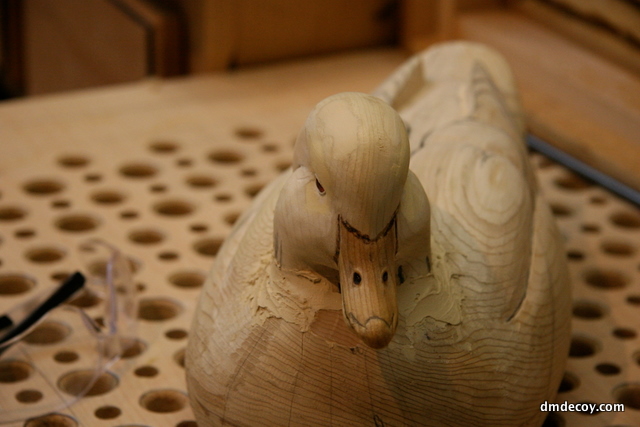
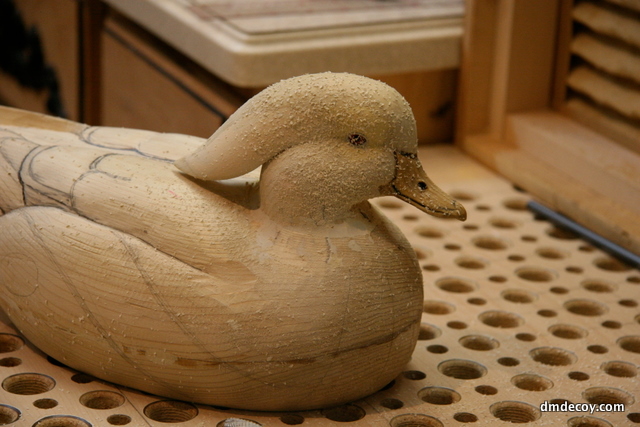
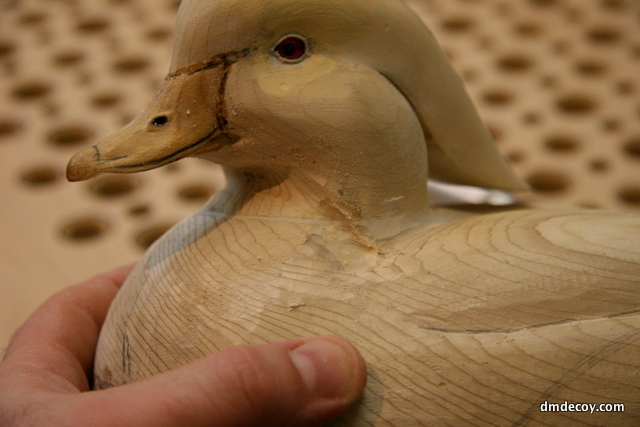
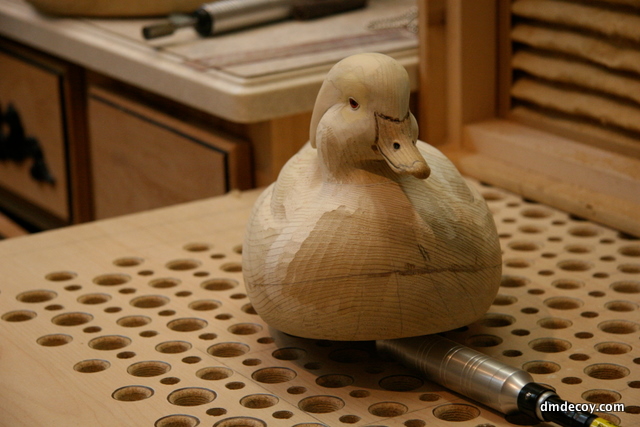
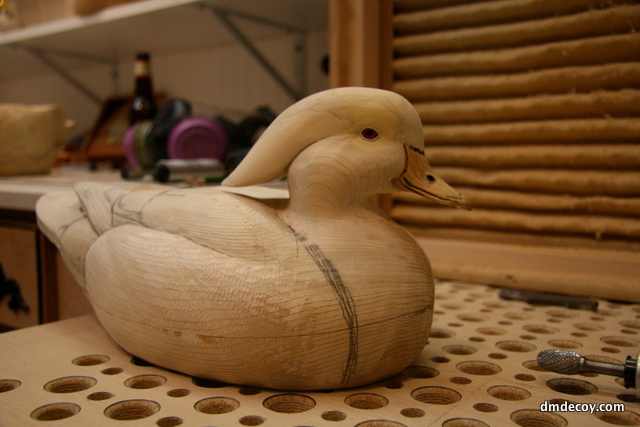
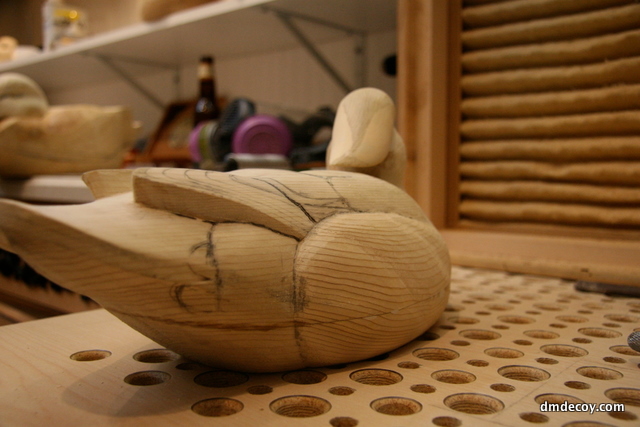
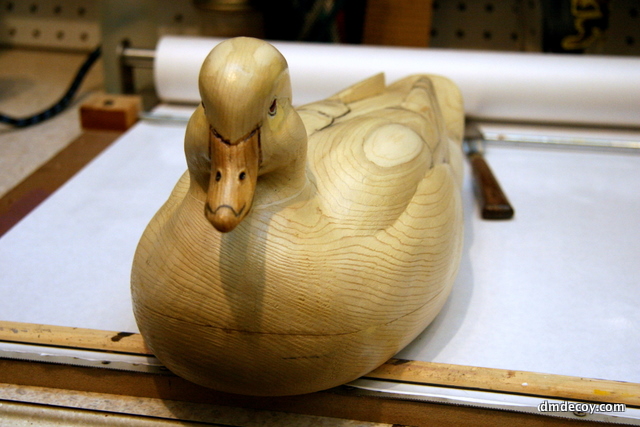
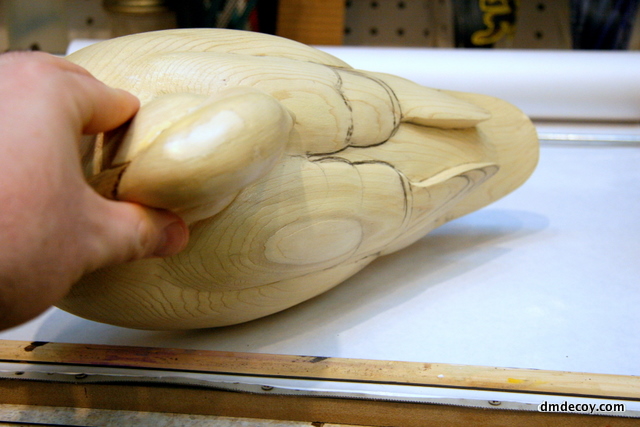
Now that the eyes are installed and the body is hollowed, It's time to permanently attach the head. I use a two part, carve-able product called Tuf-Carve. I use the 1/2" dowel peg to ensure it is aligned and to help strengthen the joint. I really slop it on when attaching the head. The neck joint has not been carved yet and I still have to do quite a bit of shaping, so any extra material will all be carved away.
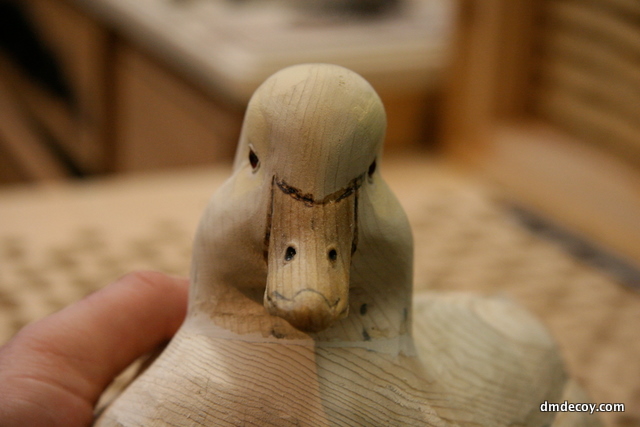
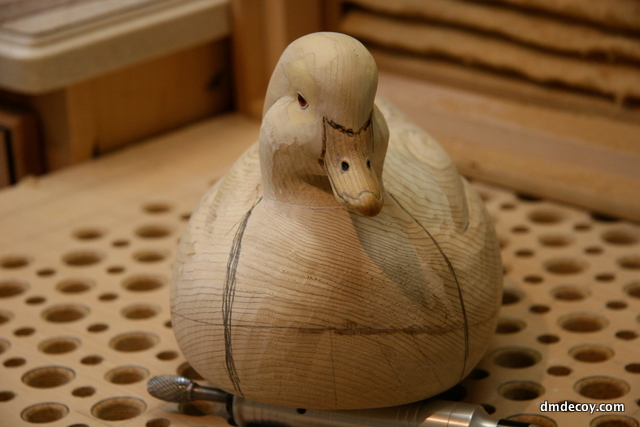
Here's another shot from the front
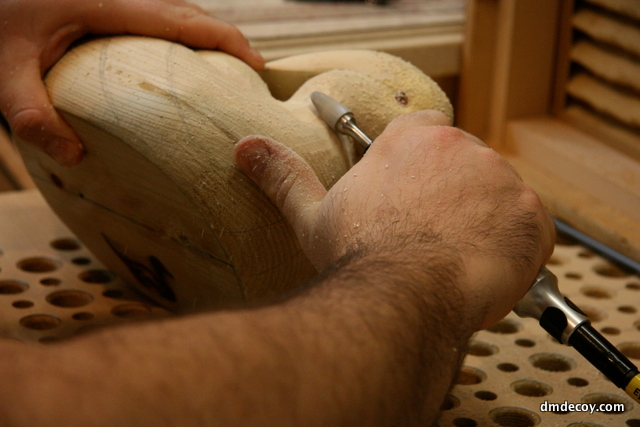
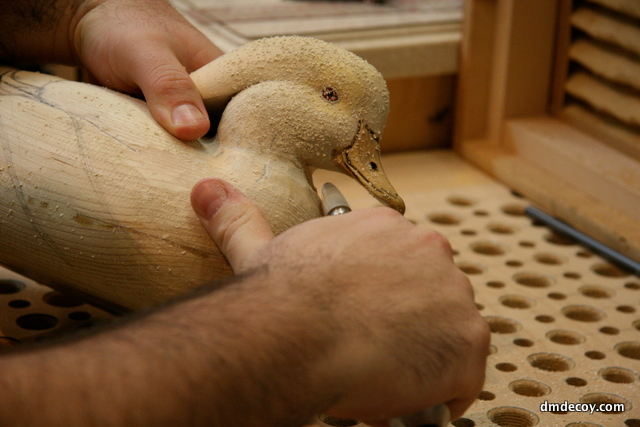
Now I'll start to blend the neck line out. My goal is to have the seam between the head and body be undetectable.
Now I've removed all of the extra filler and I have a nice, smooth neck joint.
From the front, you can see that although the neck joint is now smooth, it still is rather bulky. My next step will be to carve the neck so it has that hourglass look and appears more natural.
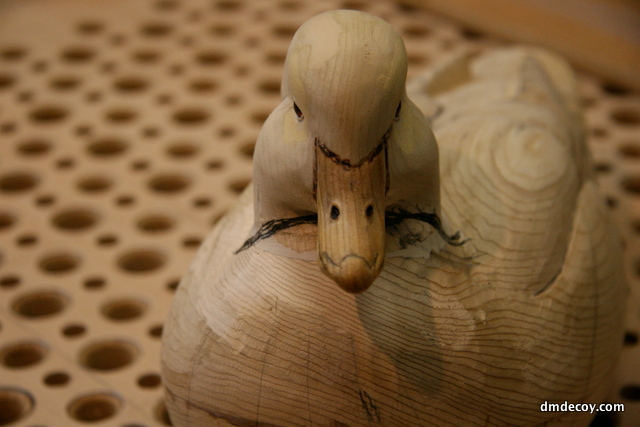
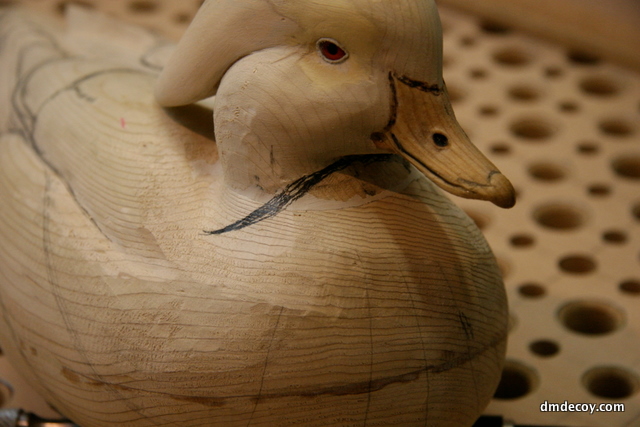
I draw the "s" curves that star under the birds neck, and slope onto the body.
With a round, carbide bit I carve a deep groove following the lines I've just drawn in. From that groove, I'll blend up into the cheeks, and blend down onto the neck and breast.
Since this bird's head is turned to the left, I want the neck and breast to fall off at a steeper angle on the right, and I want the breast to look fuller and a bit more rounded on the left. Here I begin to refine the shape of the breast and neck on the right side, making sure I blend it nicely in with the start of the side pocket.
I've drawn some lines following the contours of the breast to give a better idea of the shape I'm going for.
To give the bird a little more depth and interest, I carve a couple of grooves into the side. I'll blend these in with the sides. My goal is that after I've sanded the finished carving, you will hardly be able to see the grooves. I want to be able to feel them, and have them add some shadows and texture to the decoy, but not be apparent unless you are specifically looking for it.
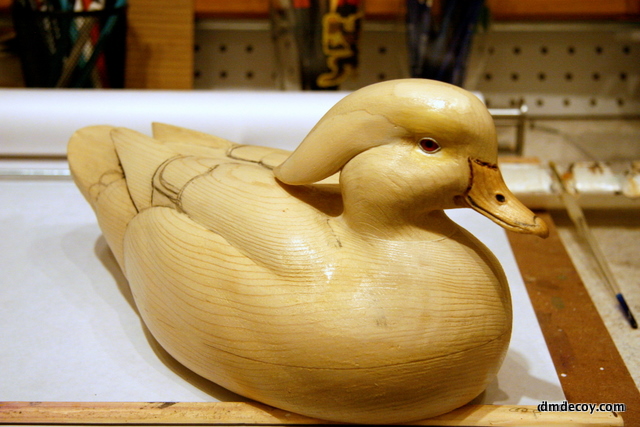
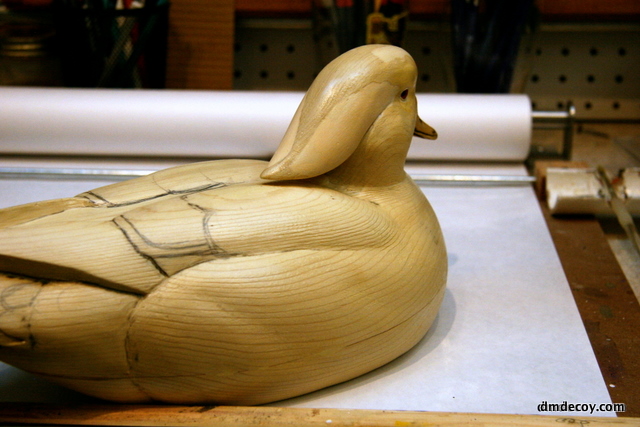
At this point, the carving is essentially done. Before I go over it with sandpaper, I'll simply set it down in my shop for several days, occasionally turning it. I want to spend some time looking at it, while I'm not specifically working on. Little details that my have escaped my attention while I'm working on it have a way of grabbing my attention after I take a break from from the bird. Sometimes I'll notice a small flat area, or an angle that I'm not crazy about. I'll draw notes and circle areas I want to improve on the bird with a pencil and correct them before I sand.
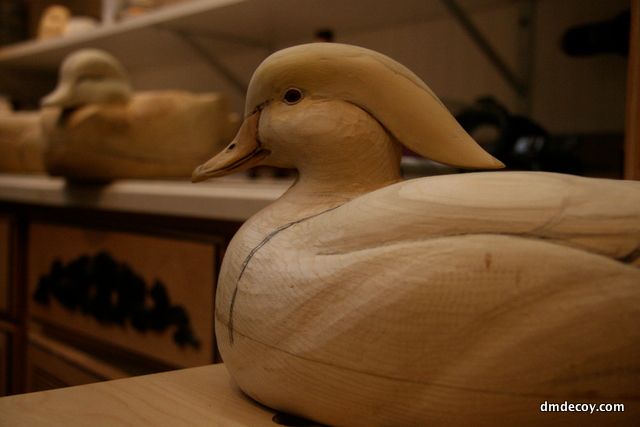
Here are a few picture I took after I have finished all of the sanding and have a couple coats of sealer on it. The next step is paint.
