
Onto the head. I've picked a smaller piece of white cedar and cut it to the final width, 2 3/8". When lining up the pattern with the wood, it's critical to make sure the wood grain runs parallel to the bill.
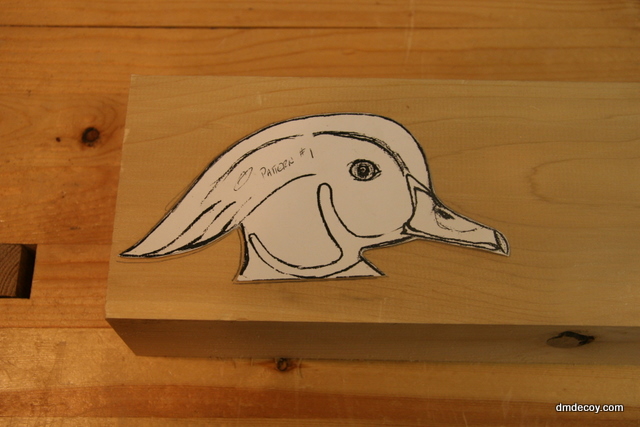
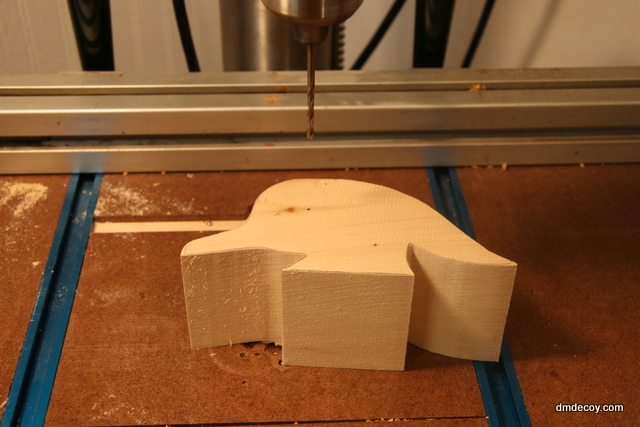
As soon as I draw the side profile on, I cut out the pattern on the bandsaw. Unlike the body, I don't draw the top profile on until I've made the side profile cut. While the head is still square, I'll take it to the drill press and drill the eye whole straight through to the other side. I find this makes lining up the eyes much easier than measuring and cutting each side individually.
Here's a picture of the head with the eye marker drilled. I've also drawn some of the critical lines and marked the wide spot on the cheek. While carving, I will not take any wood away from this wide spot.
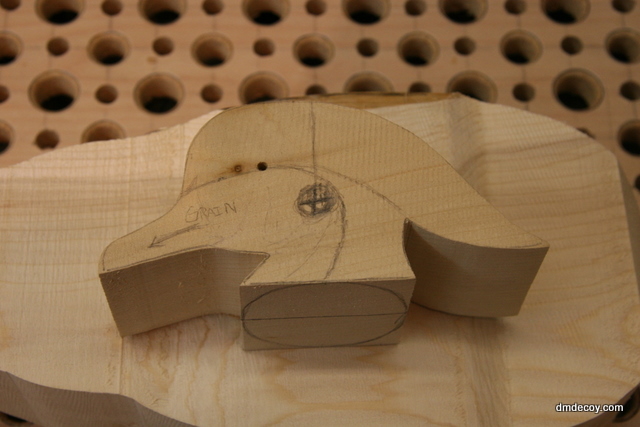
I use a molded taxidermy bill as a reference for determining the width of the bill, and draw the lines onto the head about 1/16" wider to give me a little extra wood to work with. Next, I'll draw the top-profile lines onto the head. I use the wide spot of the cheek to determine the widest part of the top of the head.
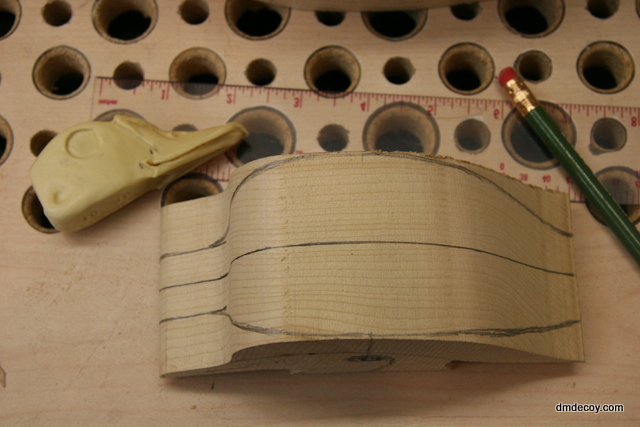
Here is the cutout head with the body. It's now ready for carving.
![]()