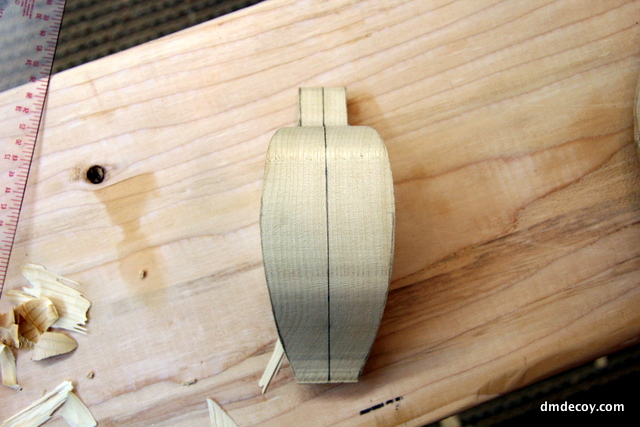
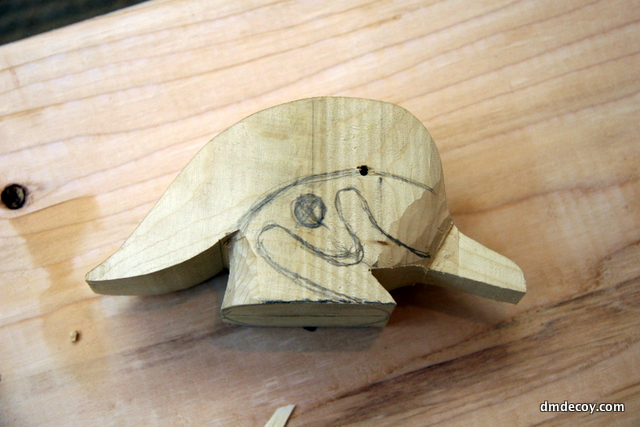
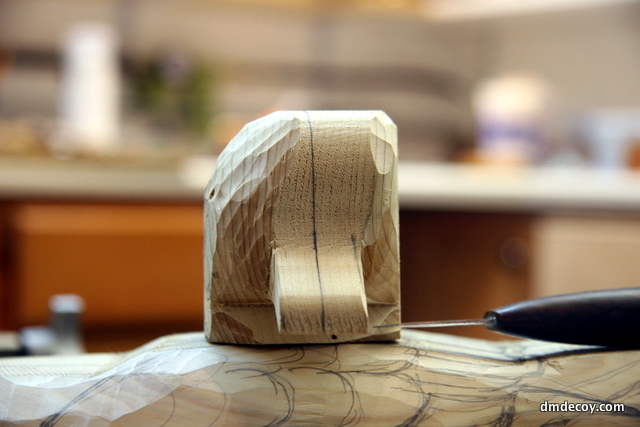
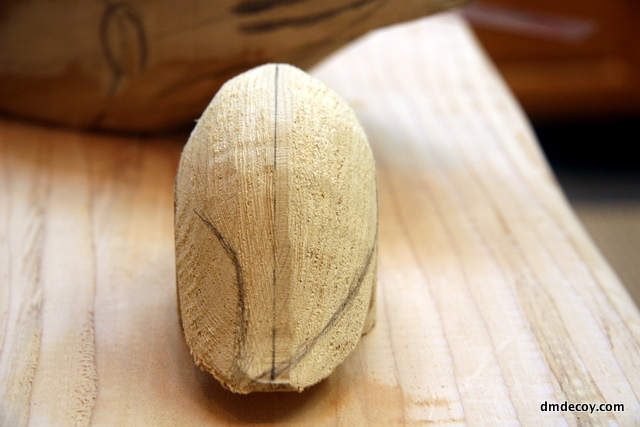
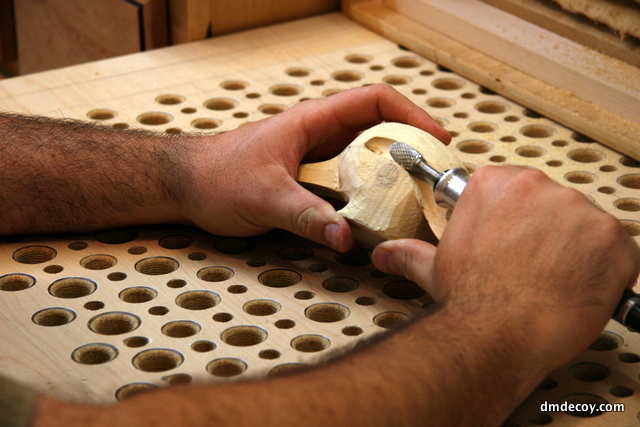
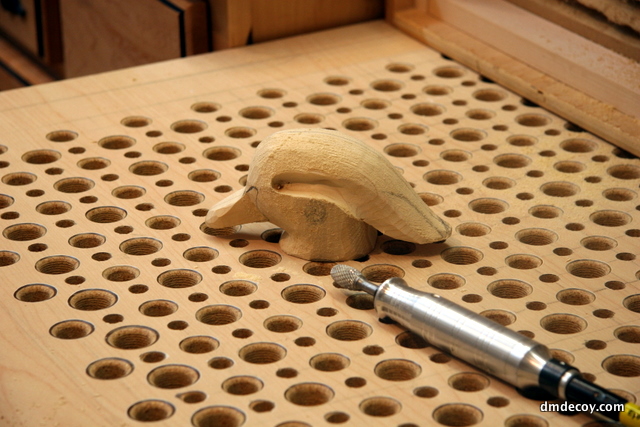
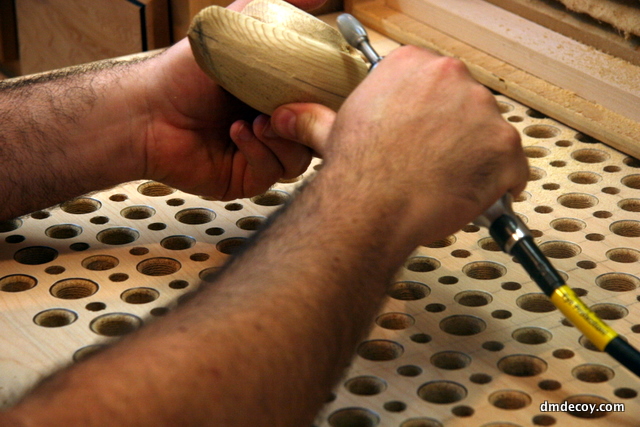
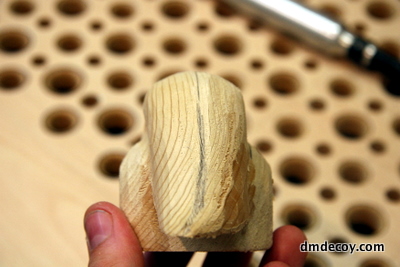
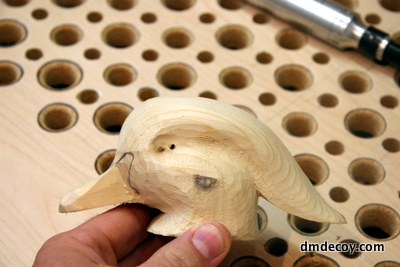
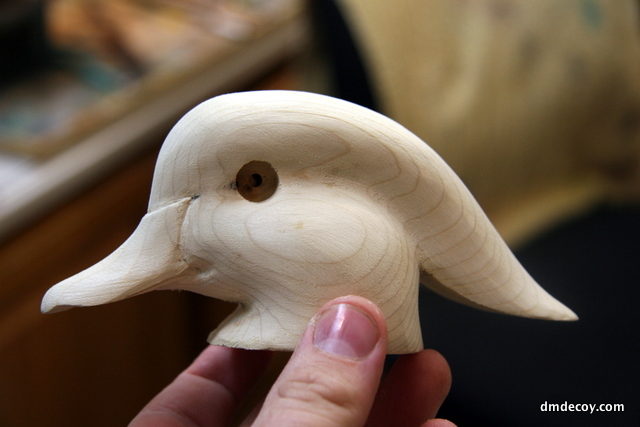
With the side and top profiles now cut on the head, it's time to start carving.
I begin by cutting away some of the extra wood where the bill cut meets the face. I make sure I don't alter the width of the bill yet though. Then I round the hard line on the front of the cheeks into the bill.
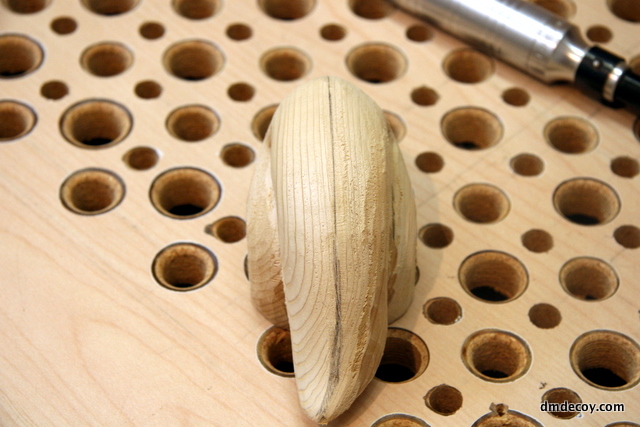
Now it's time to start rounding. I start by rounding the top of the head from the eye line up to the top, center line. It's critical to not cut into the center-line. Doing this will alter the pattern and the shape of the head. I do this step with a knife sometimes because I love the initial feeling of cutting into the wood with a nice, sharp blade.
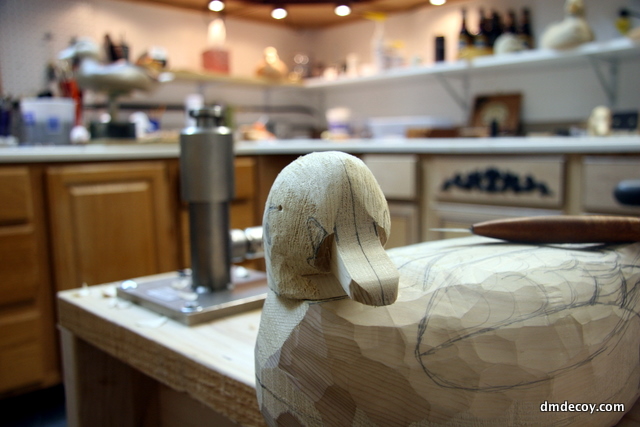
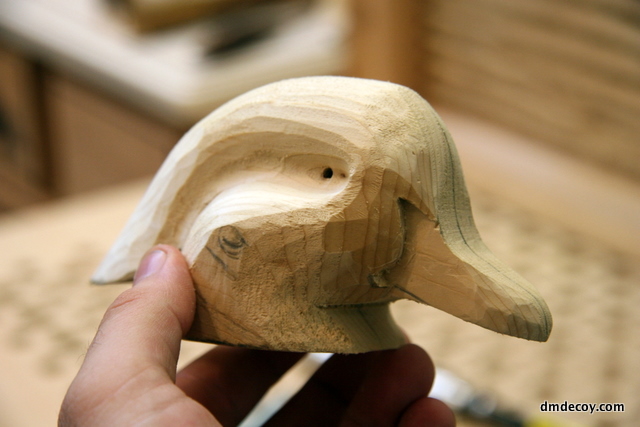
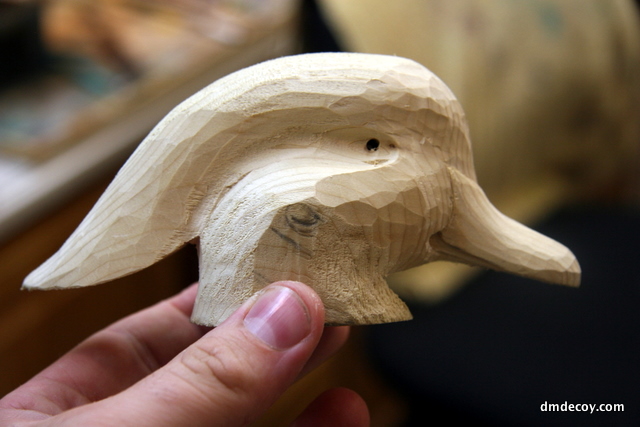
Here's a shot of the head with both sides rounded. On this decoy, I'm going to turn the head on the body slightly, so I'm going to carve the mane as if the wind has blown it a little to the side. I've put the knife aside for now and switched to the grinder.
Here is another angle after the initial rounding
Now that the head is roughly rounded, I'll move onto the bill.
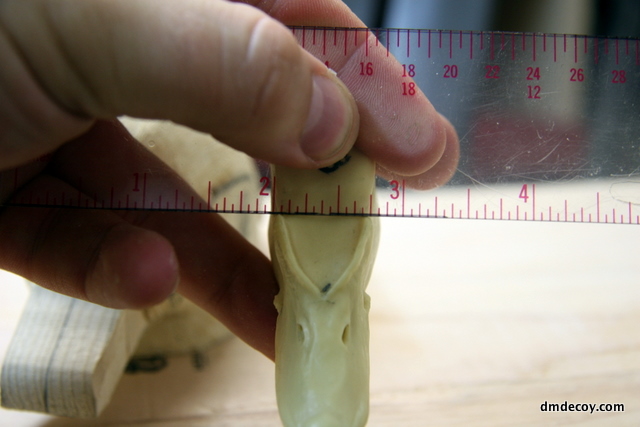
Using a study bill, I take measurements of the top of the bill. This part of the wood ducks's bill measures 3/4".
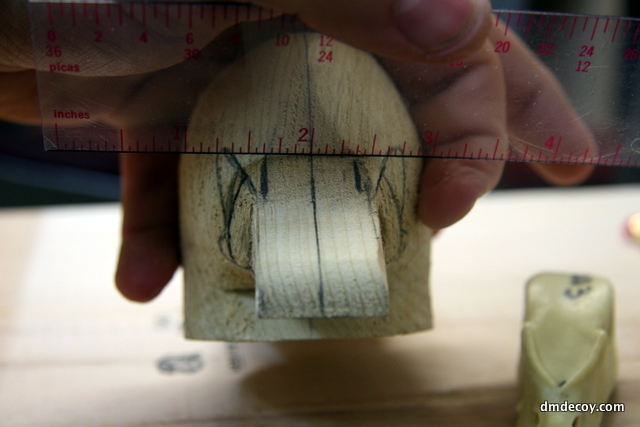
I transfer the 3/4" bill measurement to the head. The bill of a wood duck is different than most ducks in that the top of the nares is the widest point of the bill, and tapers down to the wide point of the bottom. This is opposite of most ducks.
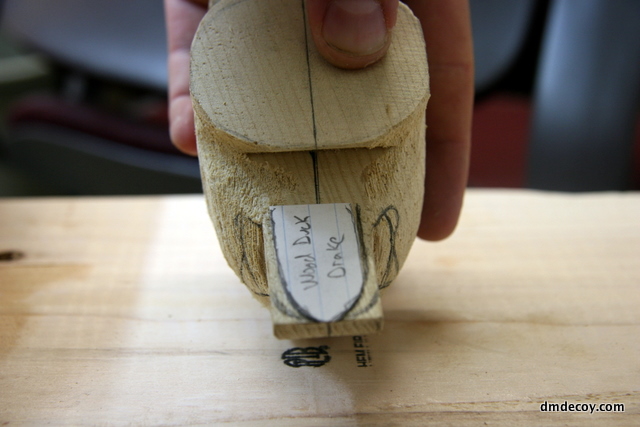
Using a template, I transfer the bill dimensions to the bottom.
Using a long, straight knife, I shave the side of the bill until I get to the two wide-point marks I have drawn on the top and bottom.
After the bill width is locked in, I'll blend the cheeks down into the bill.
Now the the head has its initial rounding, I'll start to define the eye channel.
Once I've cut in the eye channel, I'll start to round up from the eye channel to the top, center-line of the head.
I'll also round the eye channel cut down into the cheeks, being careful not to carve away the high-spot I have marked on the cheek.
Now I'll re-draw the side profile of the bill using a template.
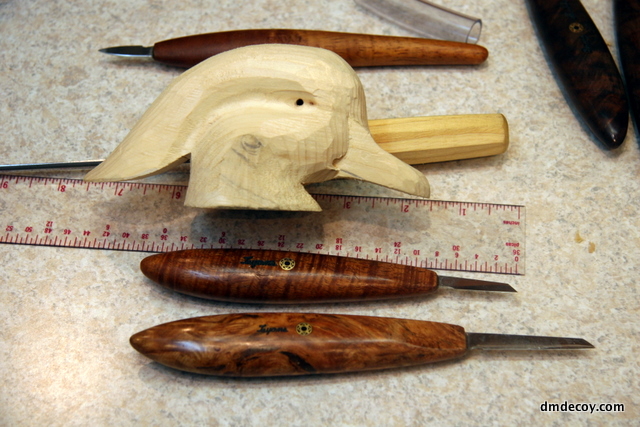
Now the side profile of the bill is locked in and I'll move onto the top of the bill. To carve the bill, I use these two knives I bought from Dave Lyons. The shape and angles on these blades are so perfect for this task, it's almost as if they were designed for this specific purpose. I can get the point of these blades right into the tight, critical areas where the bill meets the face, but not be in any danger of removing wood from ares I don't want to touch.
Now the top and side bill cuts are locked in and I can carve the rest of the head. In this picture you can see that I've resumed the eye channel cut, taking it forward of the eye now. I'll blend this area into the cheek and into the bill. I've also started to shape the bill using my study bill as reference.
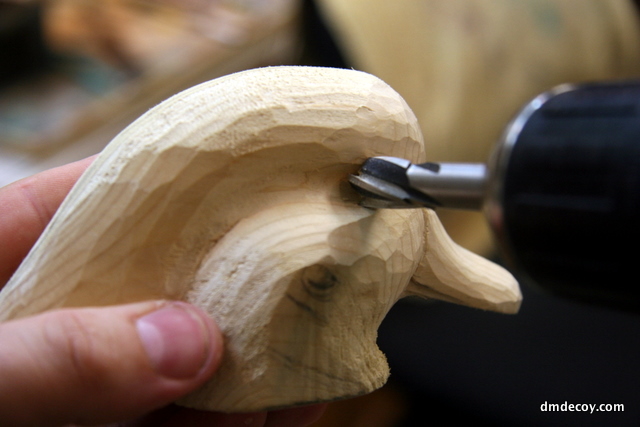
Now the rough carving is complete and I've made sure the space between the eyes measures 1 3/16 inches. This is a measurement I took from a Pat Godin pattern book and is the exact distance I want between the outside of the eyes. Using a countersink bit, I'll cut holes for the glass eyes I'm going to use.
An advantage of pre-dilling the eye holes while the the head is still square is that I know exactly where to drill these holes now.
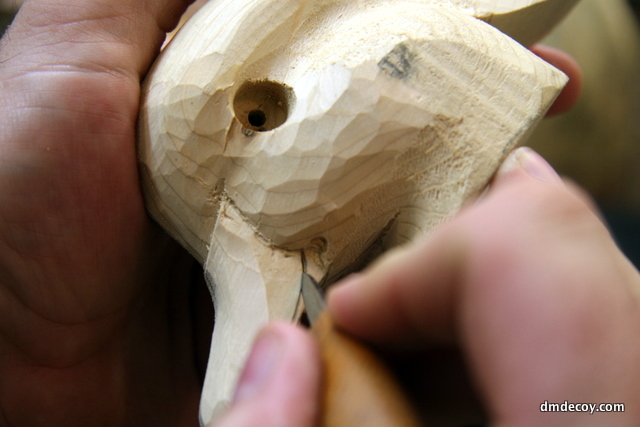
Here I'm adding some detail to the bill. I'm cutting the line to separate the upper and lower mandible.
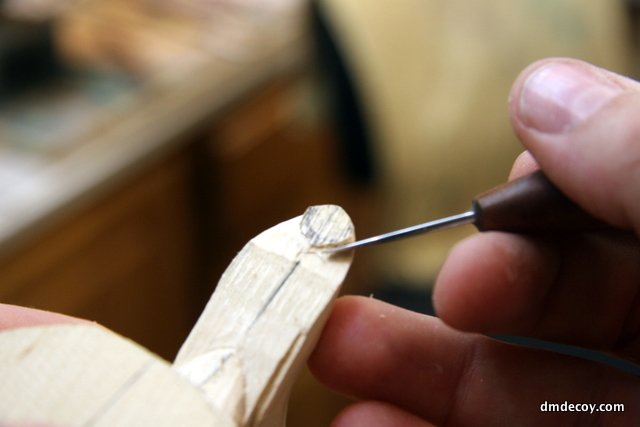
I'm also carving the nail into the end of the bill.
Here's what it looks like after a good sanding.

