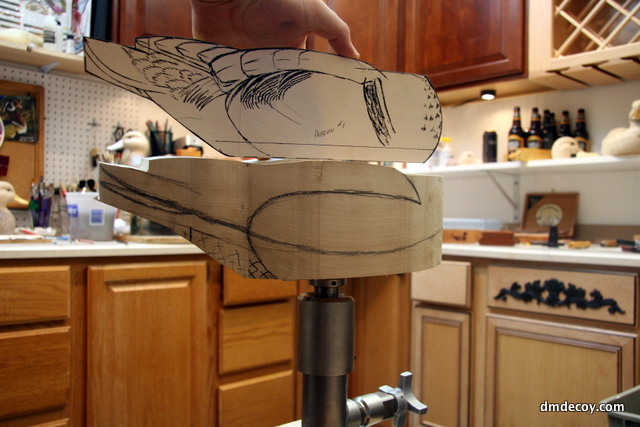
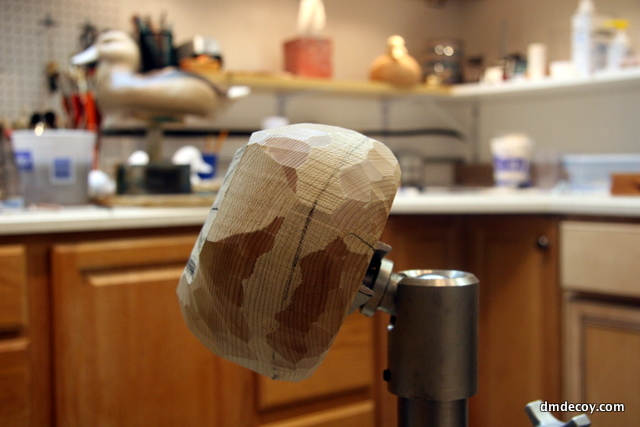
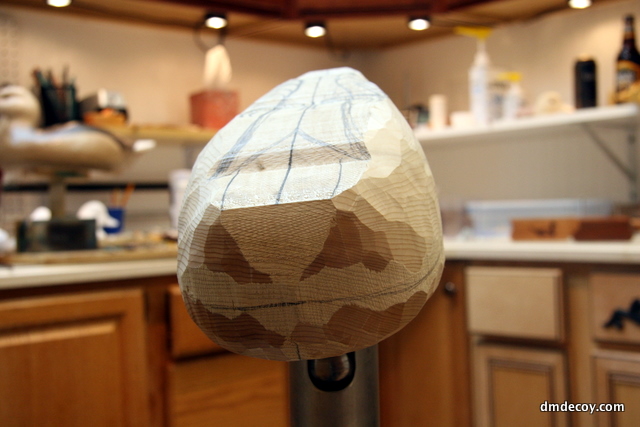
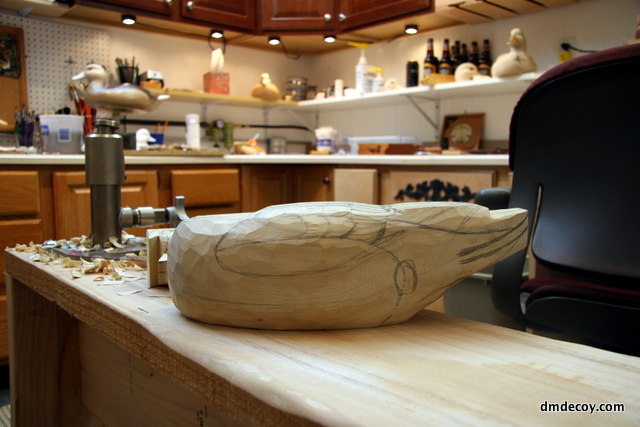
Here's where I start rounding and rough carving the body. At this point, the body blank has been cut out and is ready to start getting shaped. I use measurements from both the pattern I used for this decoy, and Pat Godin's decoy pattern book. I use these cheap calipers a lot while carving a decoy.
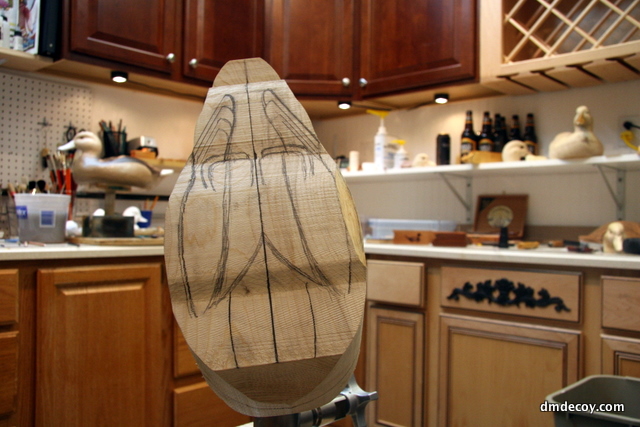
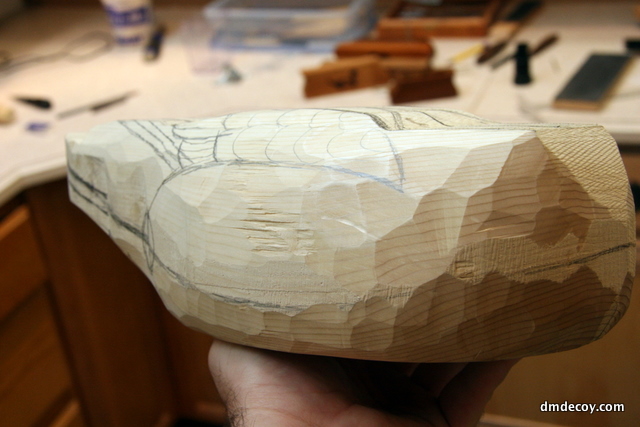
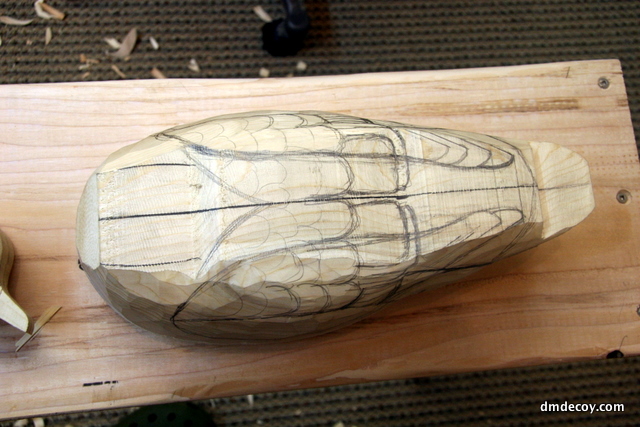
Here you can see I've started to transfer some of the critical measurements to the decoy blank. At this point, the tail, the center/water line and the side pocket are the critical measurements. You'll notice throughout this demo that I'm CONSTANTLY drawing and redrawing these lines, and feather groups onto the decoy. I'll carve them off and draw them right back in again. In the beginning the feather groups are just rough outlines. But as I carve more wood away, I refine the lines to be a more accurate indicator of where I'm going to carve the feathers.
This step helps me to visualize where I'm going with the bird. Also, for me personally, it helps me to slow things down and take my time. Patience while carving is something I'm always trying to work on. I'm not always successful but when I am, my work definitely benefits from it.
Here are some of the feather groups on the back. It's not exactly where they'll end up, but it's a decent representation of what I want the back to look like.
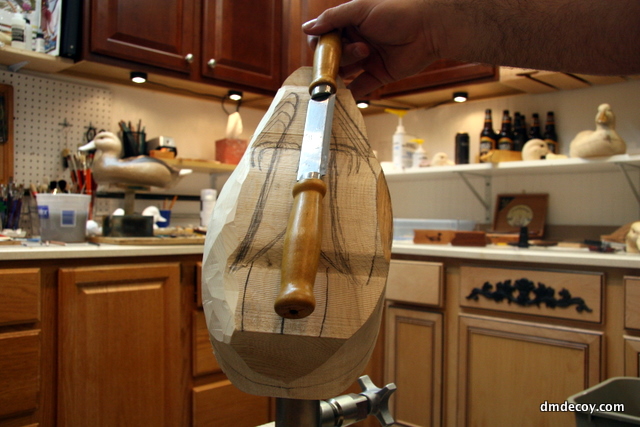
Now I've started to round the bottom from the water line on the side to the mark I drew on the bottom.
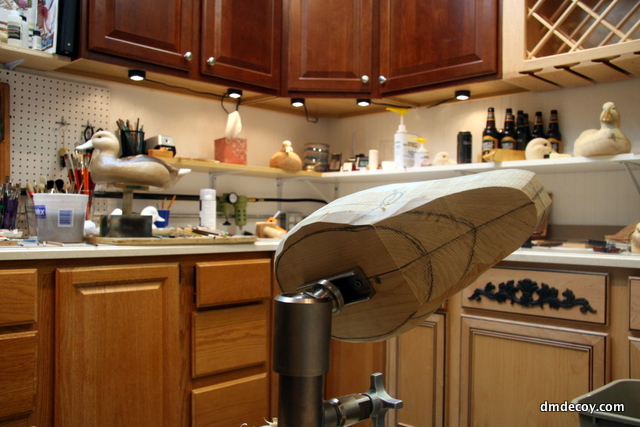
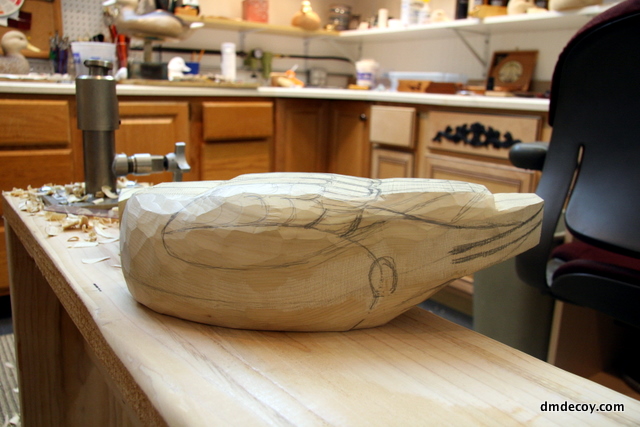
At this point I've about finished with the draw knife. The decoy is starting to take on a nice rounded shape at this point.


